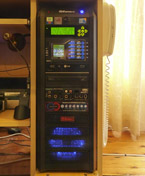
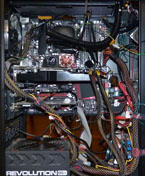
My Core i5-13th Gen. updates in 2024- :
Here and there the need arises for fixes and improvements to my “super-PC”...
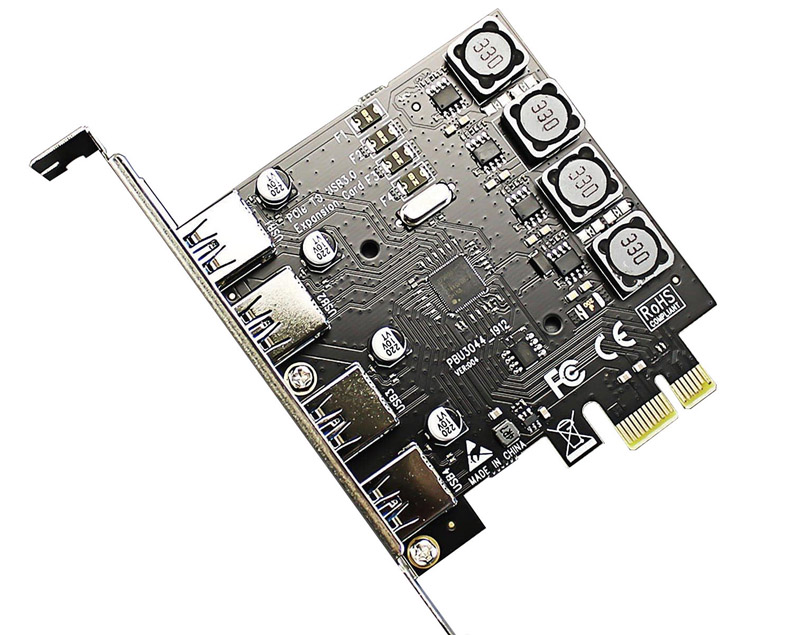
2024. The CSL 7-port USB3 PCIe Card (power-fed by SATA) did not come back from sleep. Although barely 4 years old, this card was reported to have incompatibilities with Windows 10, so I removed it. I got instead a Glotrends 4-port USB3 PCIe Card (with the new Asus ROG Strix motherboard I did not need so many additional USB3 ports), which also simplified matters because it does not need a separate power input.
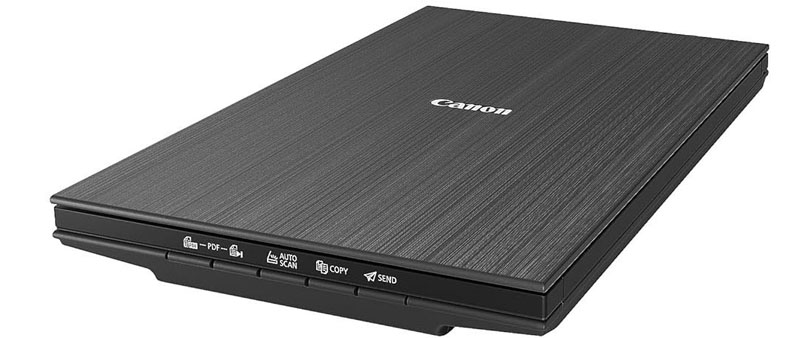
The CanoScan 4200F scanner, installed back in 2008 (18 years of flawless service!), worked OK under Windows 10 but soon started scanning only through half the platten. I replaced it with the CanoScan LIDE 400. Unfortunately, although the software installed fine under Windows 10, when attempting to scan there was an insurmountable driver error. Remarkably, it worked fine on the Louqe PC (with exactly the same Windows 10 and Antivirus!), so it remained plugged onto it, via a power cable that allows switching it off when not in use.
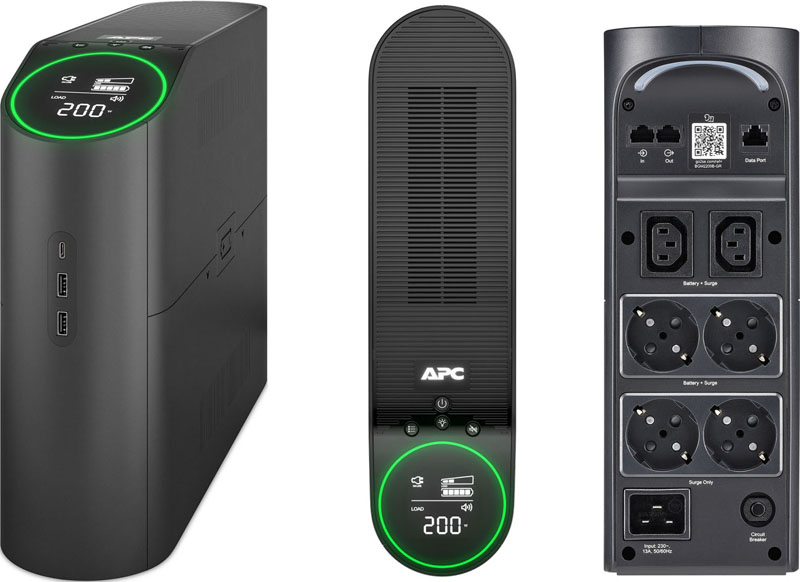
In May there was a 1 sec. electricity shortage, the PC went off (with disc errors!) and it was apparent that the Vultech UPS was no longer working: after uninstalling I tested it and the batteries were gone. It was not worth replacing the latter, because anyway this UPS is quite inefficient (around 83%) and has a maximum power of 800W, while it has to cater for the i5 PSU's 1000W and about 100W of monitors and modem. So I got a replacement that is expensive (€505) but is a true work of art, is expected to last about 4 years and is also very efficient (94%): the APC Back-UPS Pro 2200VA/1320W BGM2200B-GR. A cost analysis revealed a saving of around €60 per year in electricity, net of UPS depreciation.
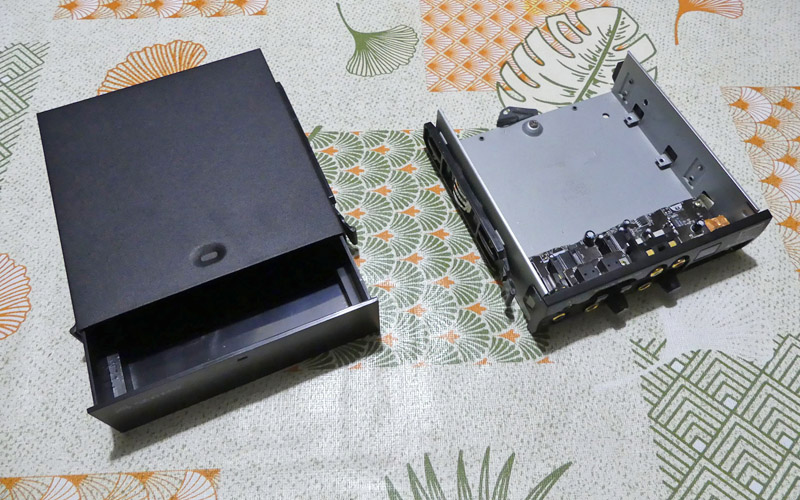
One of the front 5¼" bays had, in its previous incarnation in the Pentium 4 PC, the Audigy Drive, with circuitry and plenty of audio sockets. Later in the i7 computer I adapted it to house an SSD drive. With one less SSD, in the new i5W10 PC this bay became an empty ornament, shown in the right hand side in the picture below. So I replaced it with a simple drawer seen on the left hand side.
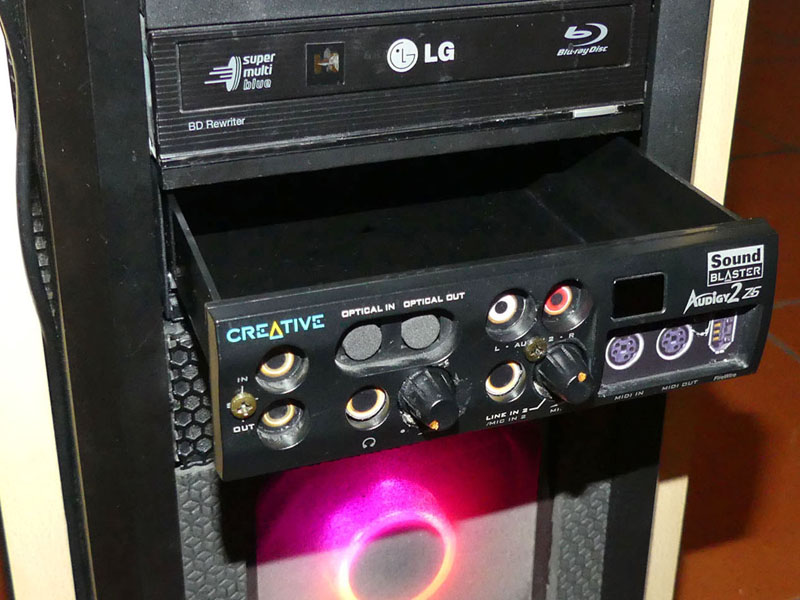
For decorative purposes I removed the black front from the Audigy and screwed it onto the drawer. There were now simple holes instead of the sockets, so I affixed to them printouts of the sockets, as shown below. This is mainly a hoax that I use to have fun with visitors.
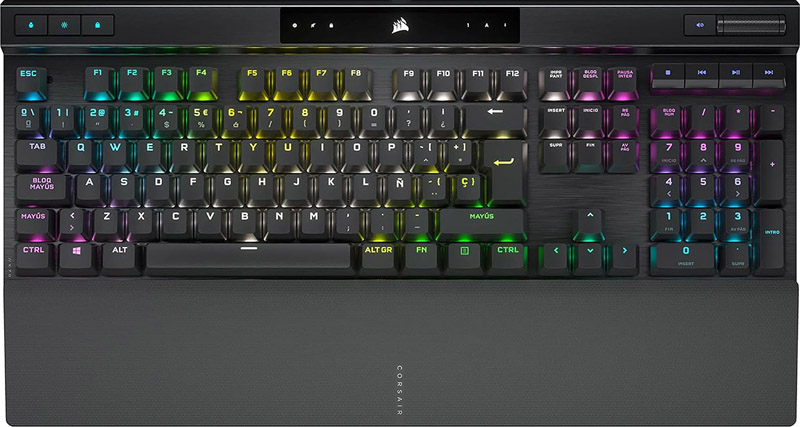
In August I had to replace the keyboard. The beautiful Logitech 810 that I had bought 7 years later had for a time shown its main drawback: the keys were backlit through a shape made of a material that faded away, no spares were available, and every few months I had to "repaint" them, with poor results. Even worse, the left Control and Shift keys broke inside and I had to keep them in place with screws, and even so they were clunky; finally the spacebar began to randomly repeat the space. Enough was enough and I got the well-reviewed Corsair K70 RGB, with Cherry Red mechanical keys, a lovely (and expensive) piece of kit. Unfortunately, as soon as I tried to record a "Hardware Macro", for example assigning Alt-0162 (to get "¢") to Fn+C, this keypress produced "¢ccccccccccccccccccccc". Re-recording the macros just yielded a different number of those extra keypresses, and even worse, the keyboard was producing PageUp and PageDown randomly. I performed the easy factory reset: now I don't have hardware macros for special characters, but at least the keyboard functions normally.
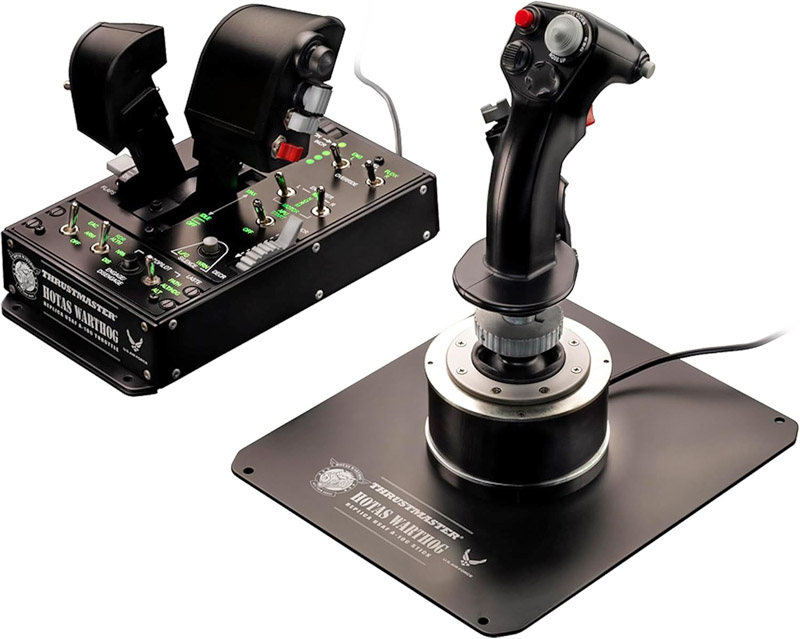
In November 2024 I decided to replace the Thrustmaster Hotas Cougar, combination of Throttle and Joystick that had been with me since February 2026: 18 and a half years! With a few replaced potentiometers, it was still working fine, except that every time I rebooted (and sometimes even back from sleep) the joystick would come badly out of calibration and required a very elaborated re-calibration. I went for the Thrustmaster Hotas Warthog. This is a similar beast, although much heavier! The joystick is almost identical. The throttle section is not, much enlarged with plenty of switches. And the joystick stays absolutely calibrated! The only problem is that there is no way to translate the old Foxy program into the new joystick, and I would have to be weeks learning a new piece of software, with some issues with Windows 10. Software helps to have buttons having different functions according to the position of a shift key, something I no longer need having the G13 Gamepad At this point I found that with both FS2004 (and later MSFS2004) I could do with no software at all, just basic drivers and direct assignment of DirectX buttons and Windows joysticks axes inside every simulator; no need for anything running.
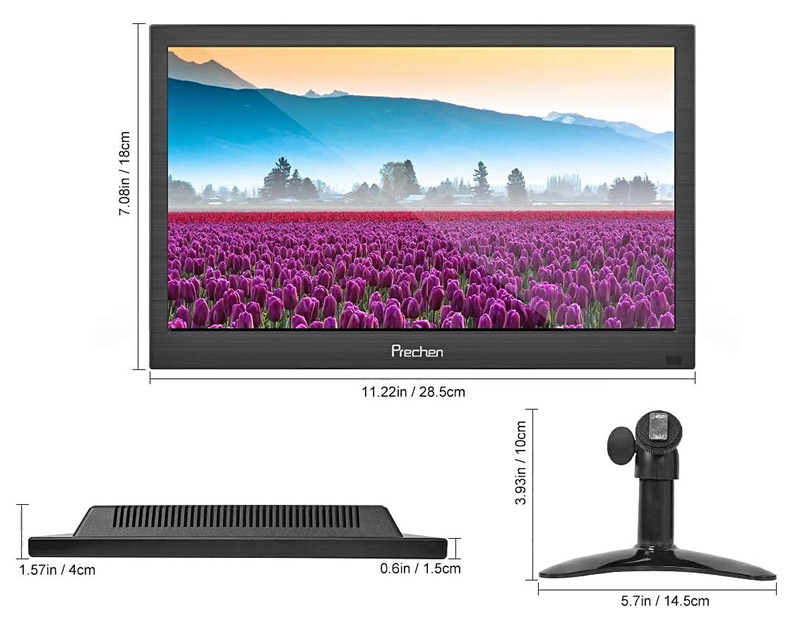
2025. The Eyoyo 8" 1280x720px very small monitor was installed in January 2019 just to read "gadgets" about the computer performance. With MSFS 2024, I needed a larger side vertical monitor to move there the EFB window. Not a great quality but at a great price in November 2025I got the Prechen 11.5" 1366x768px. Instead of the Eyoyo, which sat on the table below the main Dell monitor, for this one we modified a VESA mount attached to the Dell's vertical column, and flush with the Dell. This has freed a significant part of the limited desktop space.
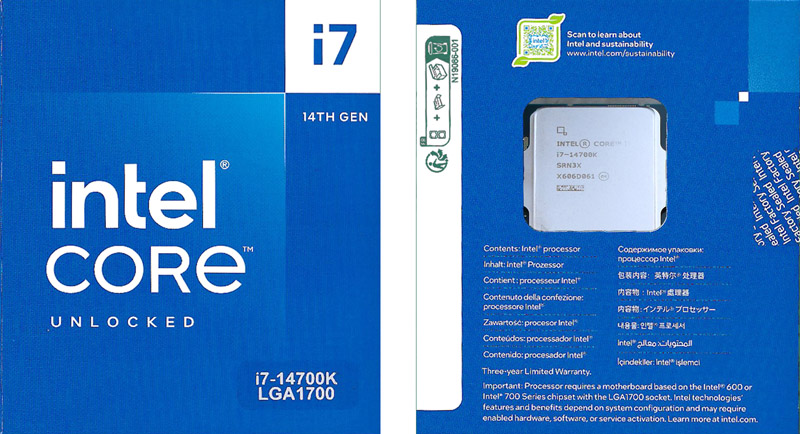
2026. My new hobby, Microsoft Flight Simulator 2024 (MSFS 2024) required very powerful CPU and GPU. I had planned an update for later in the year, but it proved wiser to do this asap. Intel produced a new 15th Generation of CPUs that are no longer compatible with my motherboard: it was therefore good to upgrade my 13th Gen. CPU to a 14th Gen. CPU before the latter starts to vanish from the market. Furthermore, among the dozens of Intel CPUs for the LGA1700 socket being available, different criteria pointed to a specific model sold by a single vendor in Italy: I therefore fastened to get the Intel Core i7-14700K, yielding an increase of 60% in processing speed (PassMark).
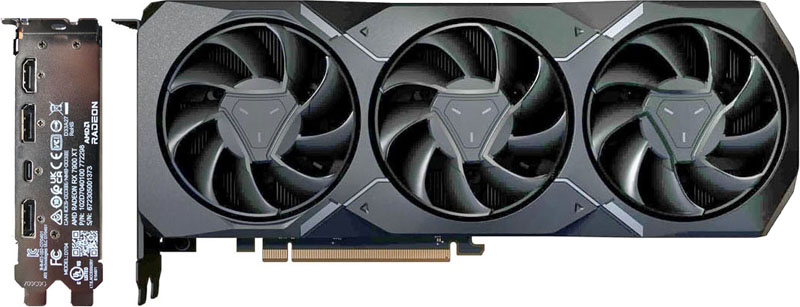
The other item for update was the GPU, not only for speed but for memory. Here also among dozens of models available in Italy, only a single one fit the bill of a significant upgrade at a non-preposterous price (most alternatives being well over €1,000, I paid €690): the XFX Radeon RX 7900 XT yielded not only an increase of 35% in processing speed (PassMark) but also a hefty increase from 12 to 20GB of VRAM, crucial to avoid crashes in MSFS 2024.
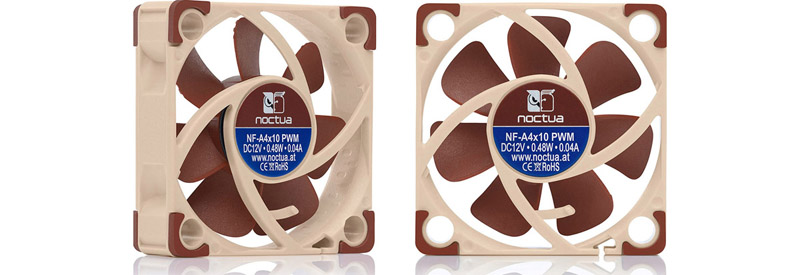
The above CPU and GPU major changes produced a flurry of small changes, mostly inexpensive but requiring three days of work inside the tower, for example passing cables in a different way. The new GPU runs hotter and since it is located over the Chipset (an unfortunate design decision in the motherboard, because the Chipset is the hottest part of it!), I got the diminutive Noctua NF-A4x10 PWM fan, to which I added a "duct" that directs the air into the Chipset.
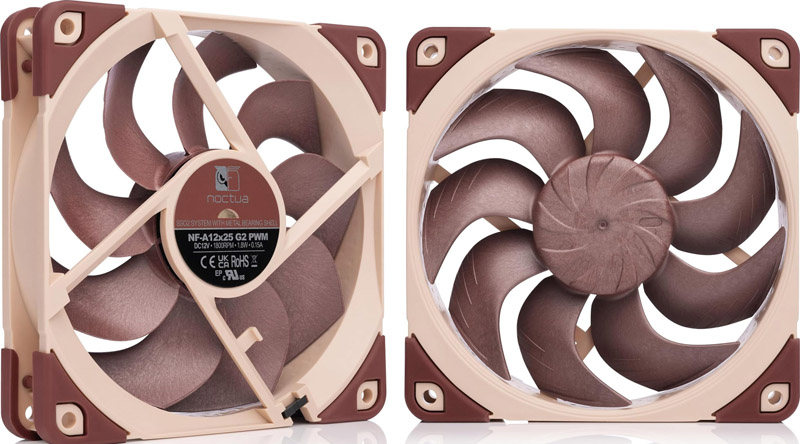
The side-wall fan blowing into the tower was now too large, interfering with the GPU cables, so I replaced it with a smaller one, the very silent Noctua NF-A12x25 G2 PWM fan.
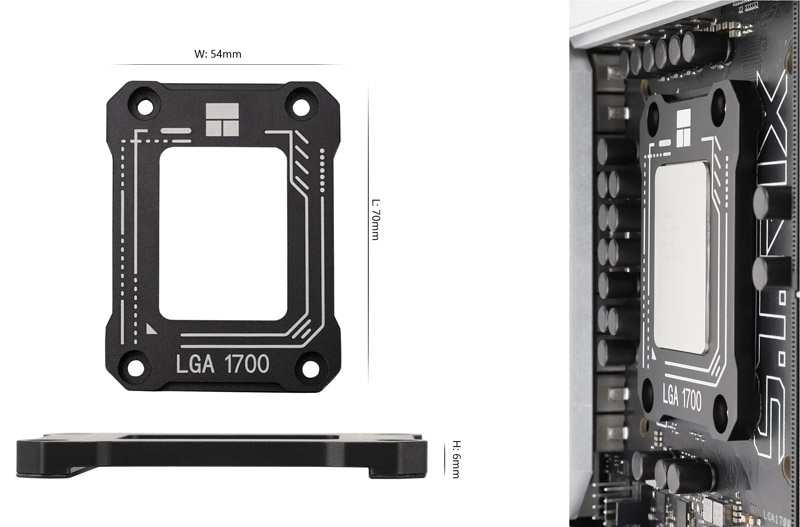
The Intel Core i7-14700K CPU installed in April had a serious issue: if any RAM stick was inserted into Channel A, the boot process would hang at the Yellow LED (without even getting into the BIOS!). The only solution was to have both RAM sticks in Channel B, thus reducing the peak throughput! I decided to follow the online suggestion to remove the motherboard's Intel ILM (the thing with lever that keeps the processor strongly against the LGA 1700 pins), which has a hard spring causing deformation in both CPU and motherboard, and install instead the Thermalright LGA 1700 BCF V2, a low-cost lovely piece of kit that uses no springs at all, only screws. Unfortunately, the RAM Channel A issue persisted.
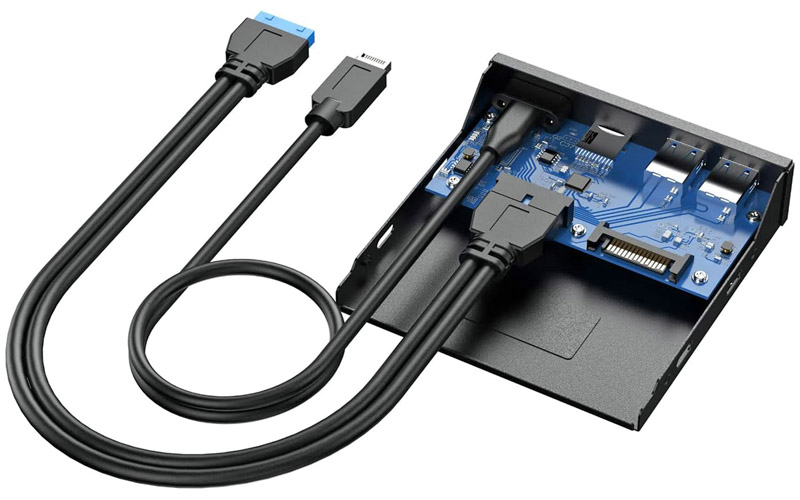
So far I had the Graugear Front panel with USB 3.2 Type A and C and, below it, the 14-year-old multiple card reader Akasa AK-ICR13 USB3. However, of the latter I only used the SD and MicroSD slots, and now there was a product combining both in one slot, the Graugear Multi Front Panel with USB 3.2 , USBC and SD and MicroSD reader. So I discarded the Akasa, the old Graugear and installed the new one.
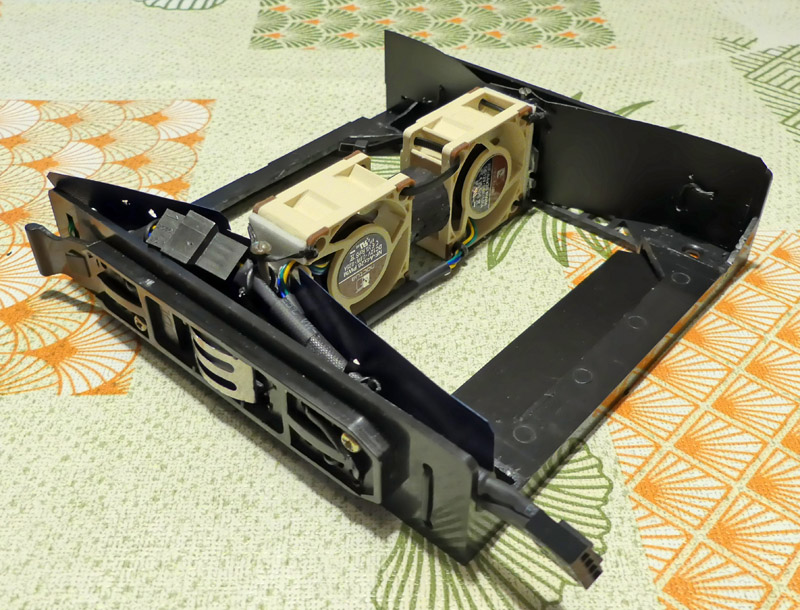
At this point a 5.25" bay slot became free, and since this points to aboutthe upper surface of the Graphics Card, I decided to turn this bay into an air pusher, installing two Noctua 4cm fans in a specially made contraption, where the cables are joined using a Y-cable, and all of them are bent between one of the walls and the plastic air duct: